Ergonome walkthrough
This walkthrough is based on an iPhone 8+, and the same screens appear on the iPad, just with a bit more whitespace
1. Splash Screen
When you first open the app, this is what you see. Marvel at the artistic splendour of the animation, but mainly note the tabs along the bottom of the screen, and the settings cog top right.
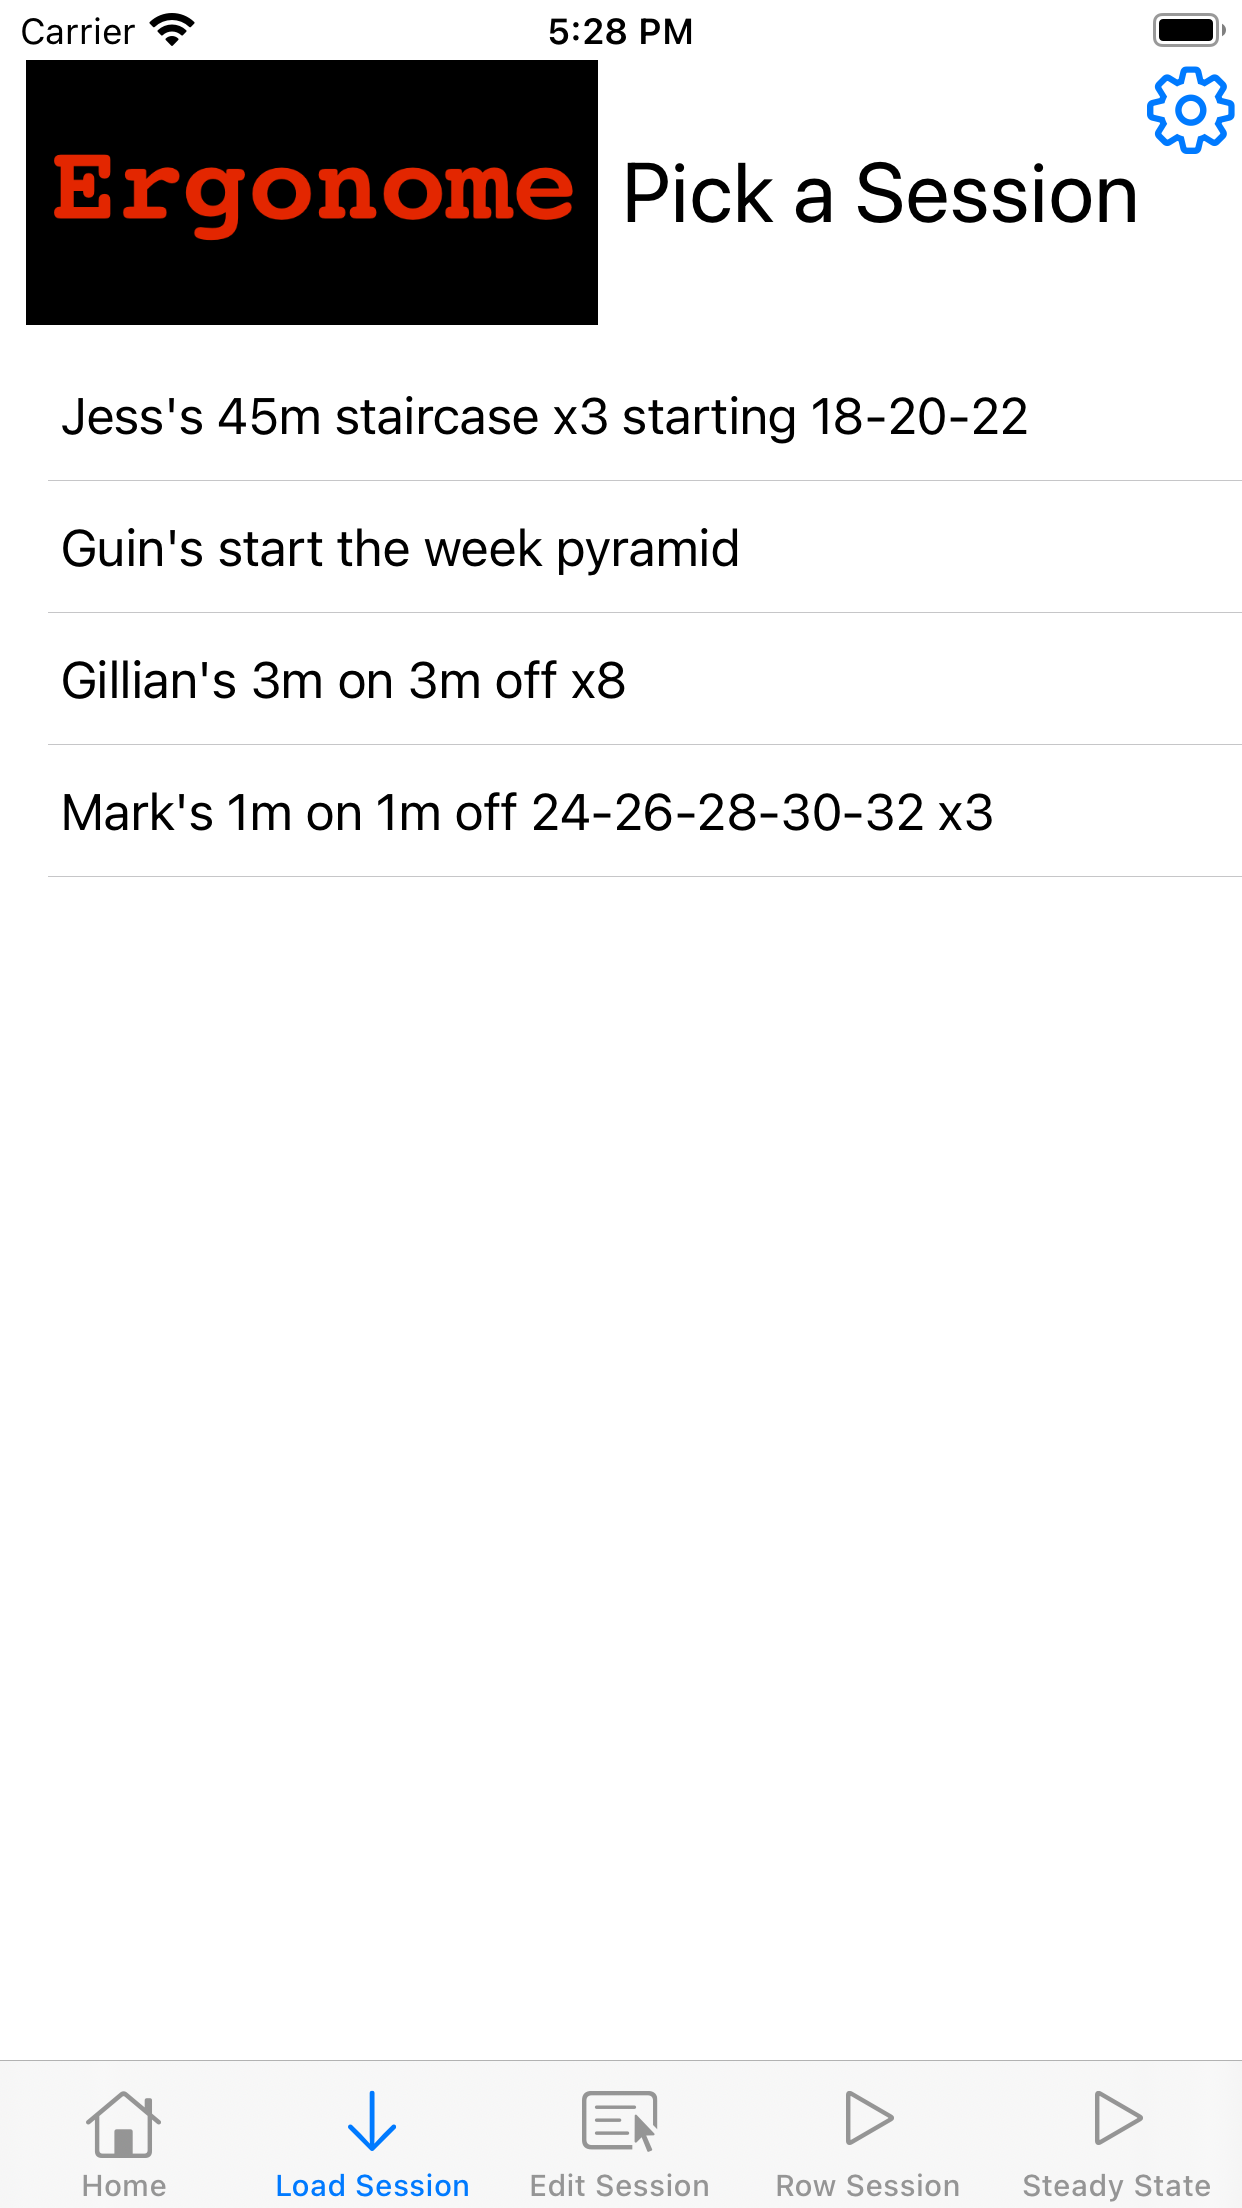
2. Stored Sessions
Ergonome comes with four pre-programmed sessions to get you going. Touch the "Load Session" tab to find them, then touch one of the sessions to load it in. (You can create your own, or row steady state of course - we'll see how to do that shortly...)
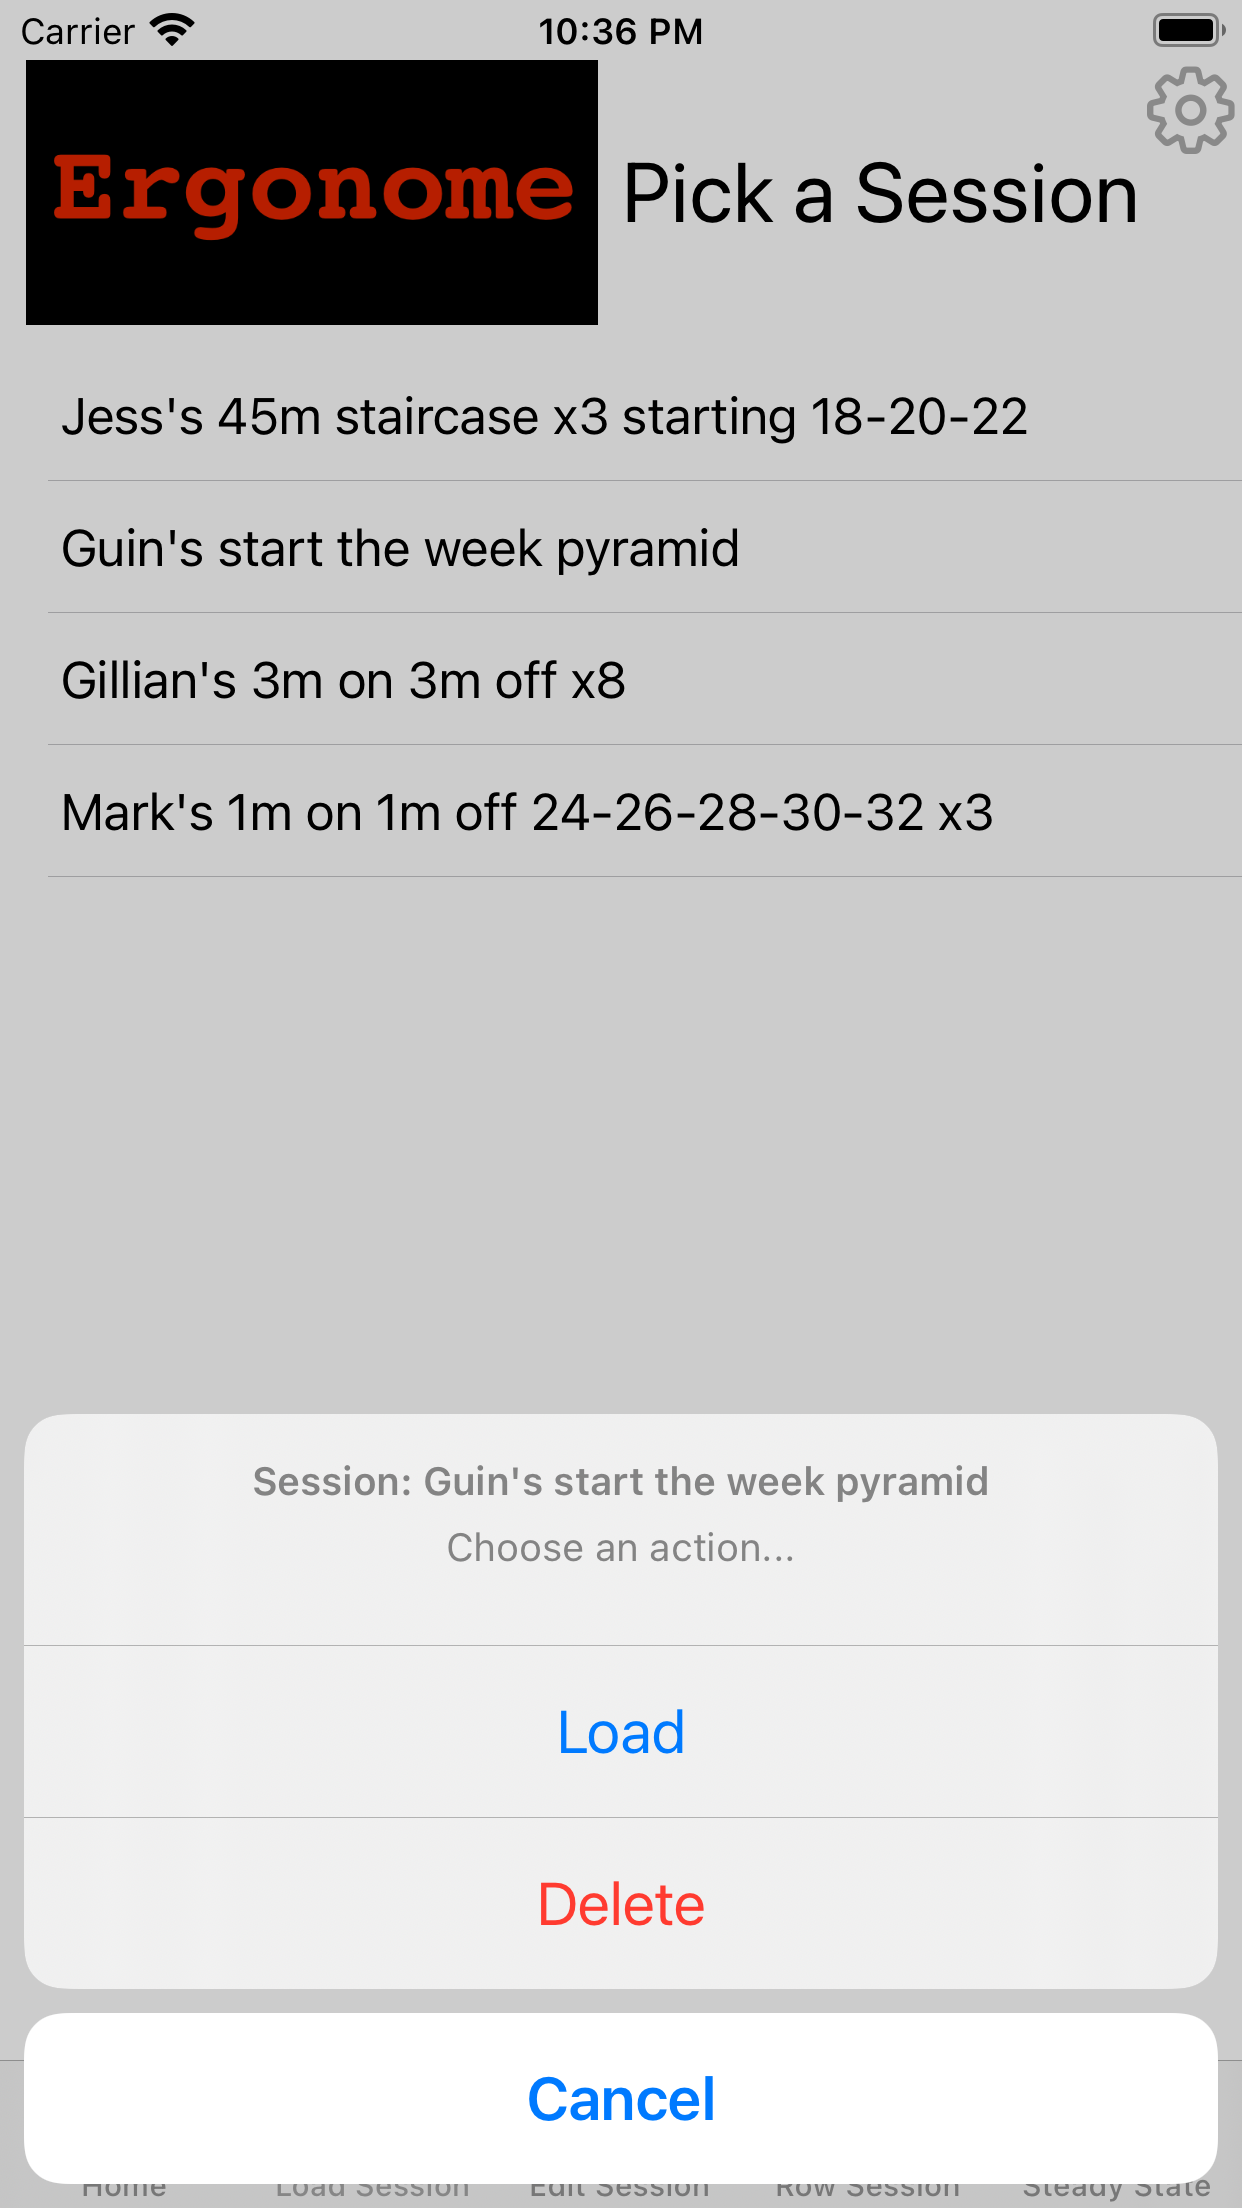
3. Stored Session Select
When you select a stored session, you get the option to load it, or delete it. Assume we're loading it for now. Deleting does what you expect, but take care - there's no undo.
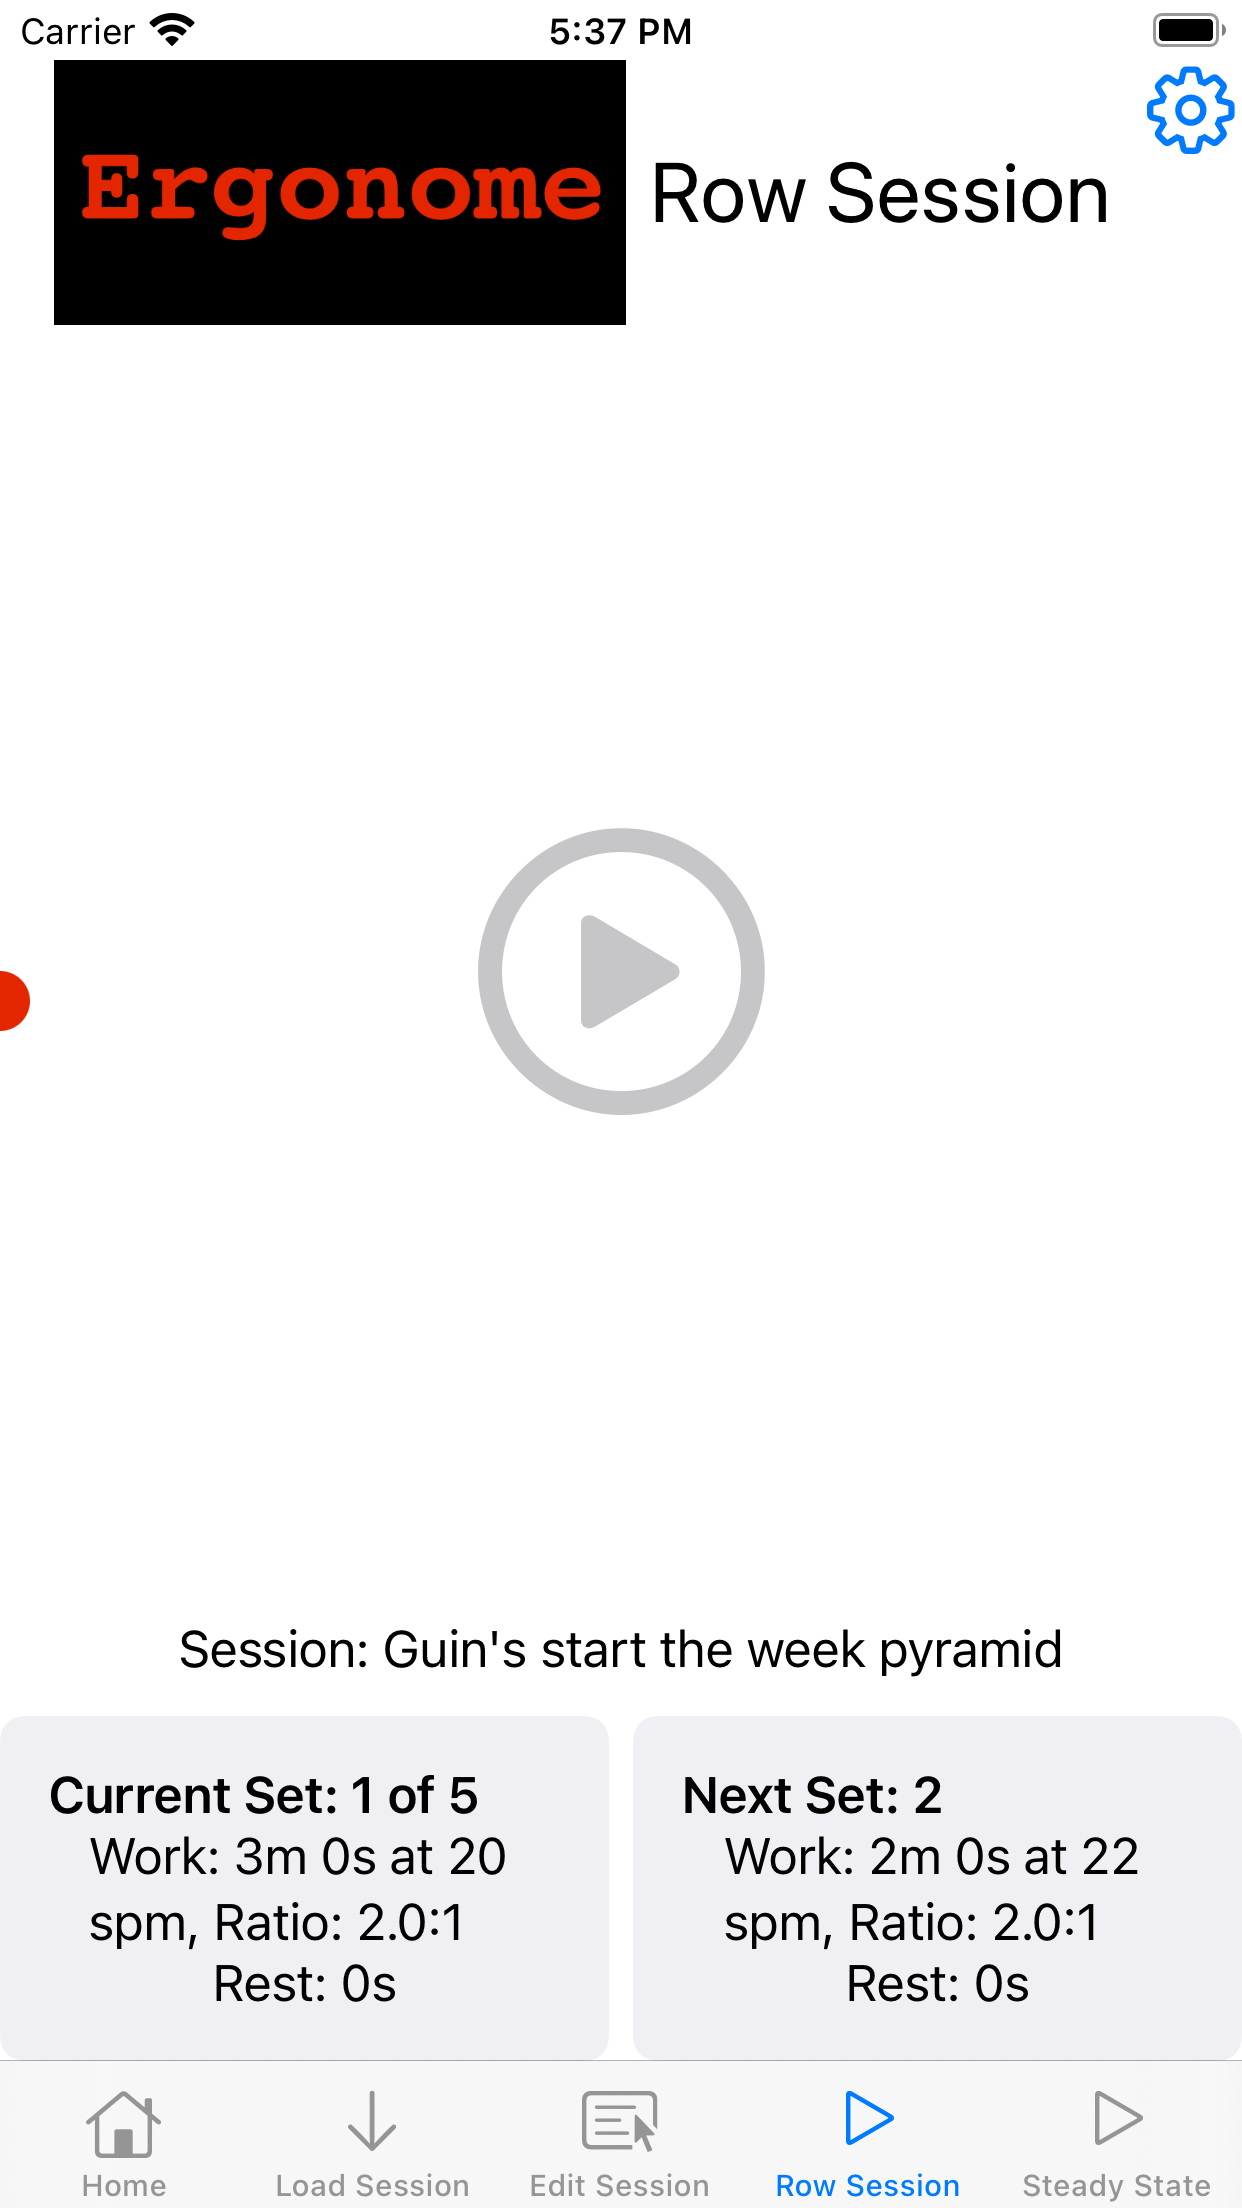
4. Row Session
When you've loaded a stored session, you're taken to the Row Session screen shown here. Up to now, we've been doing this with our phone in our hand, in portrait orientation, which I find the most convenient.
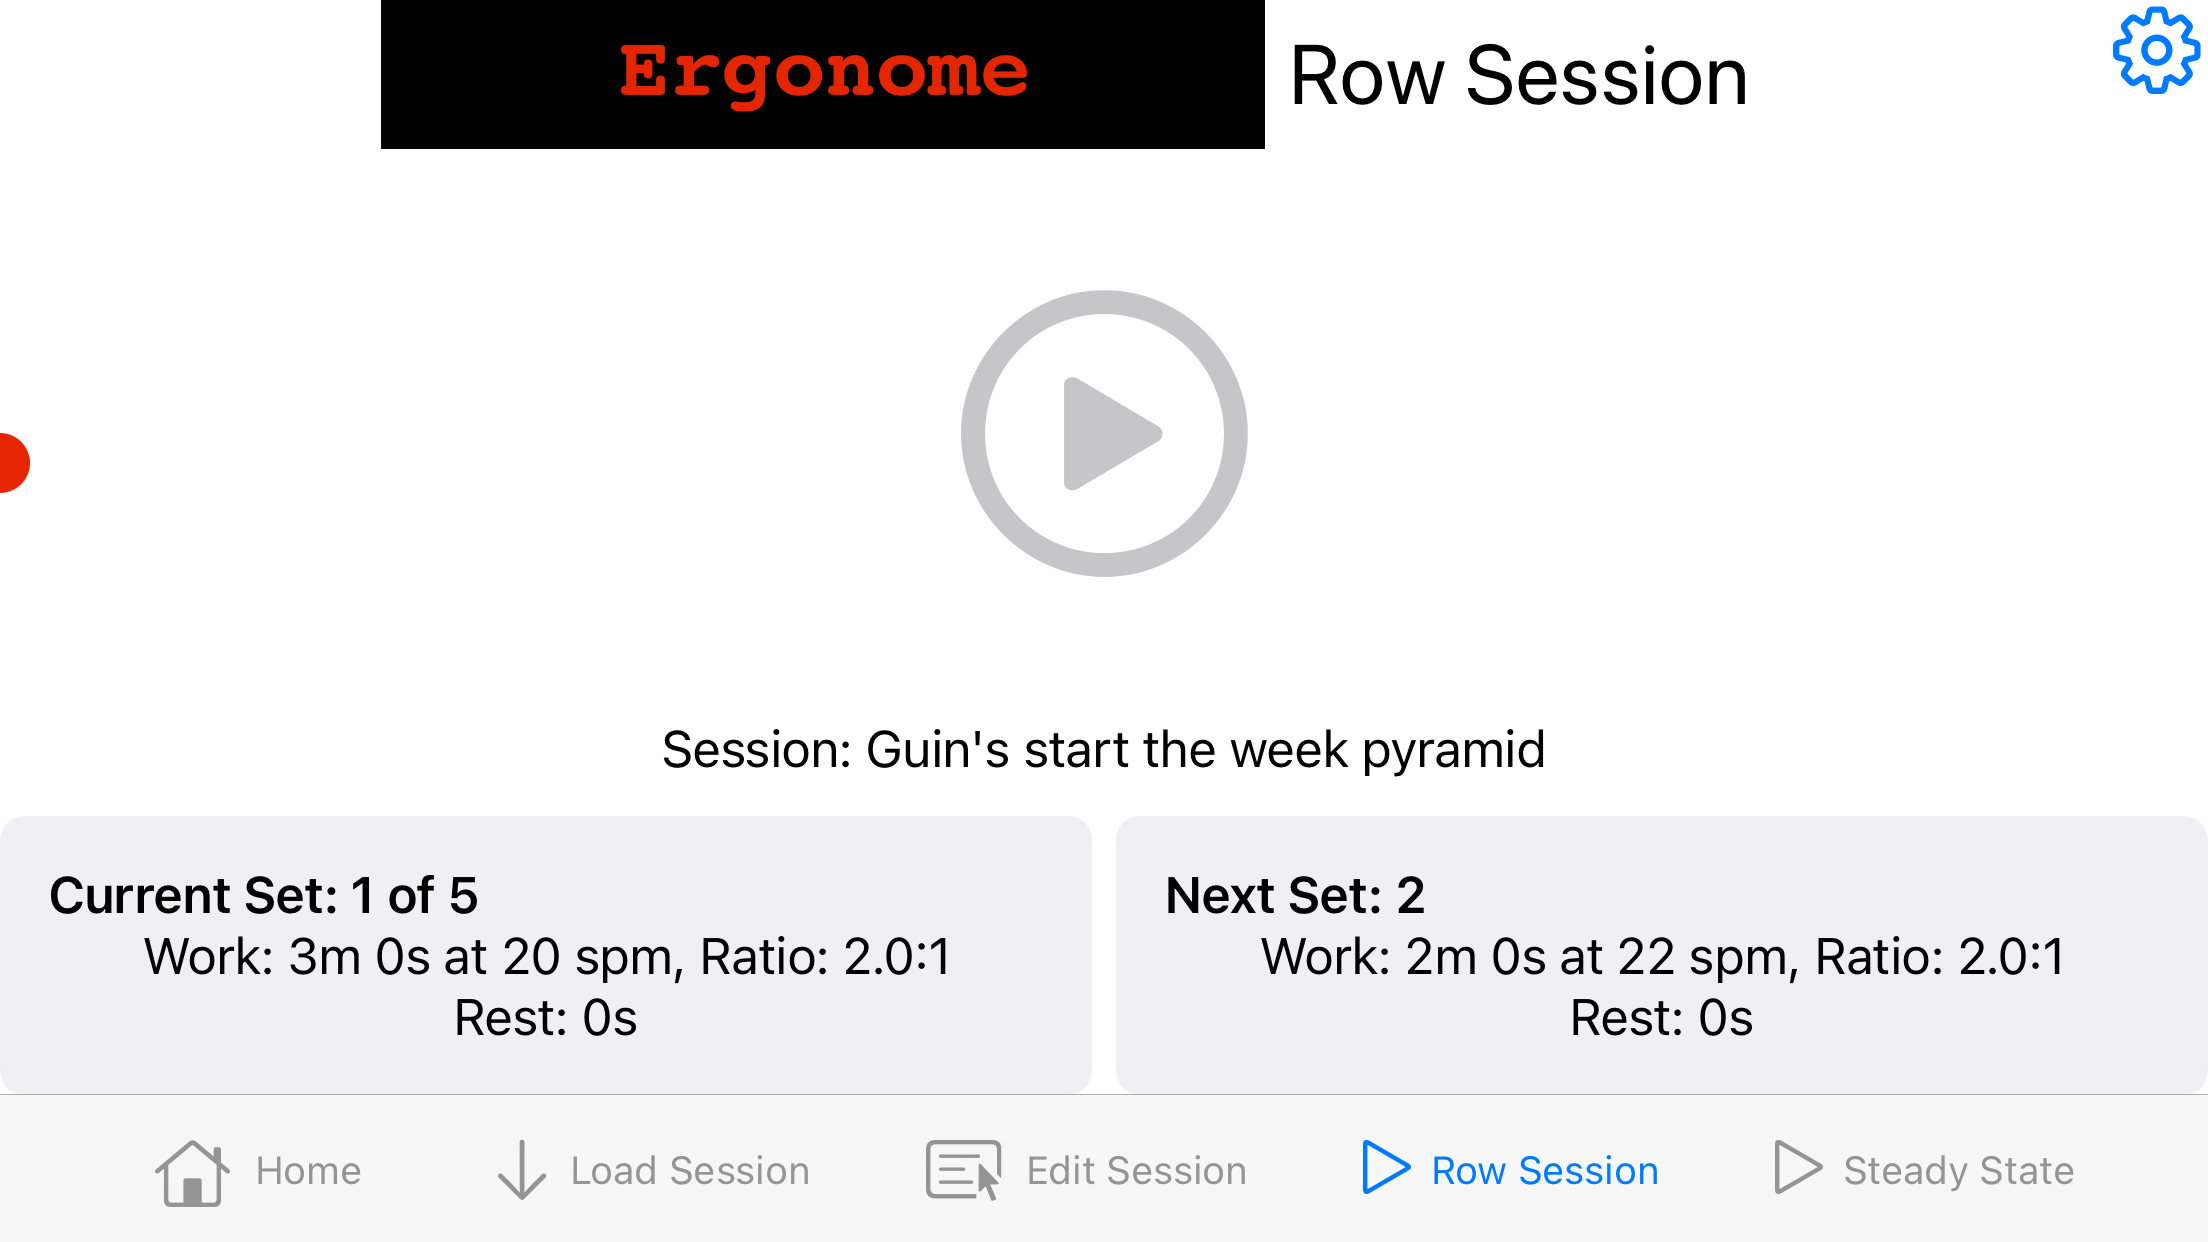
5. Row Session (Landscape)
Now we're ready to go, you'll likely mount the phone somewhere on the erg in landscape orientation, like this. Both orientations work - it's up to you which you prefer. Touch the Play button in the centre of the screen to get going.
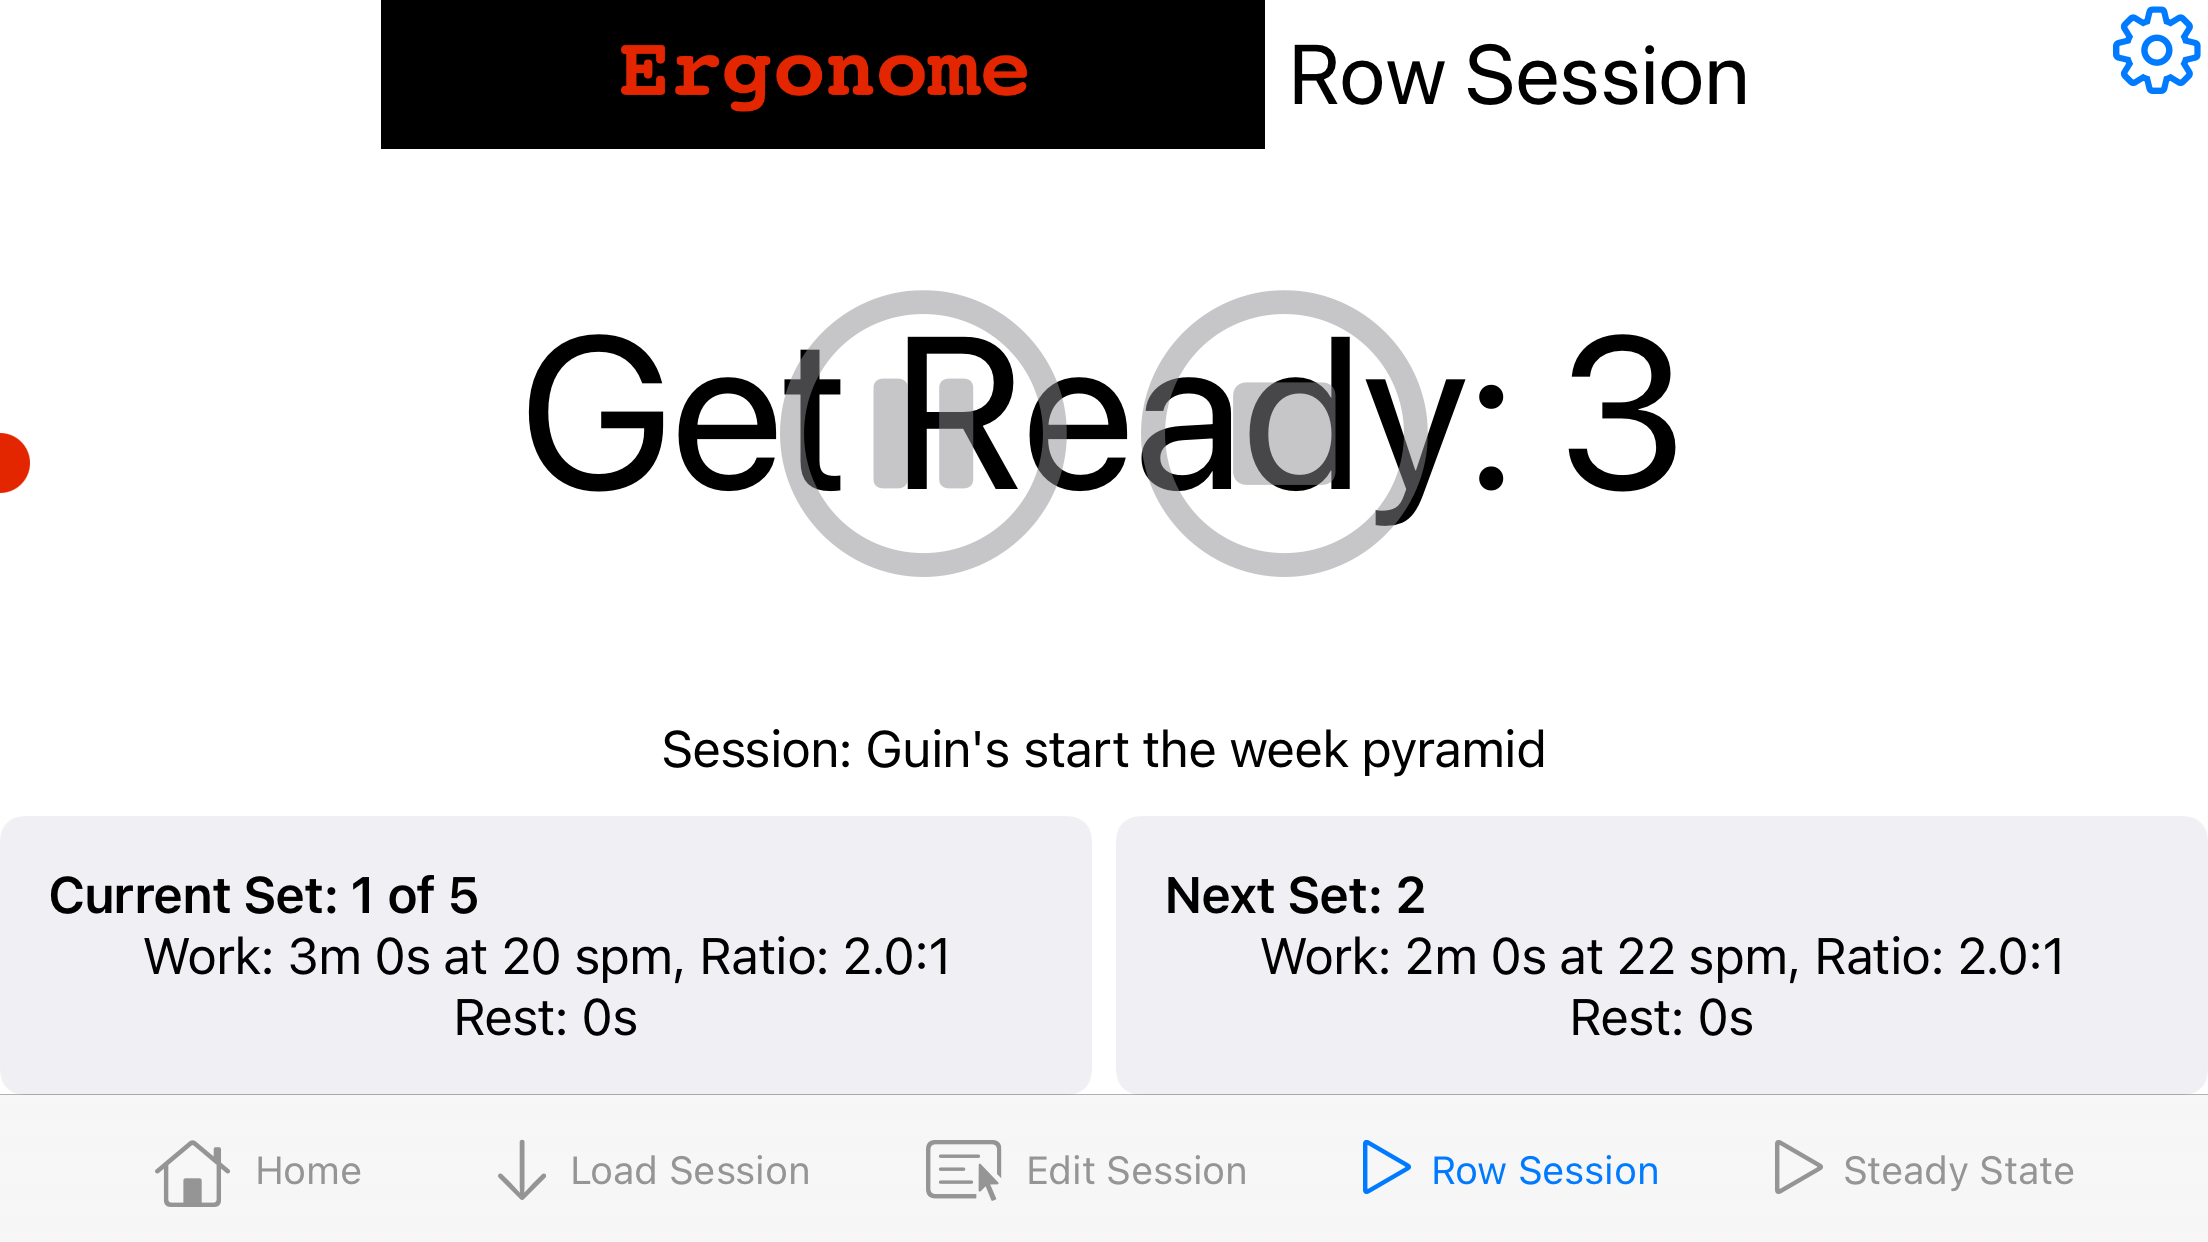
6. Row Session - Get Ready
By default the app will give you a five second count down. In structured sessions with a rest period, it'll also give you a five second countdown at the end of the rest in to the next set. You can turn this off in the Settings page according to taste.
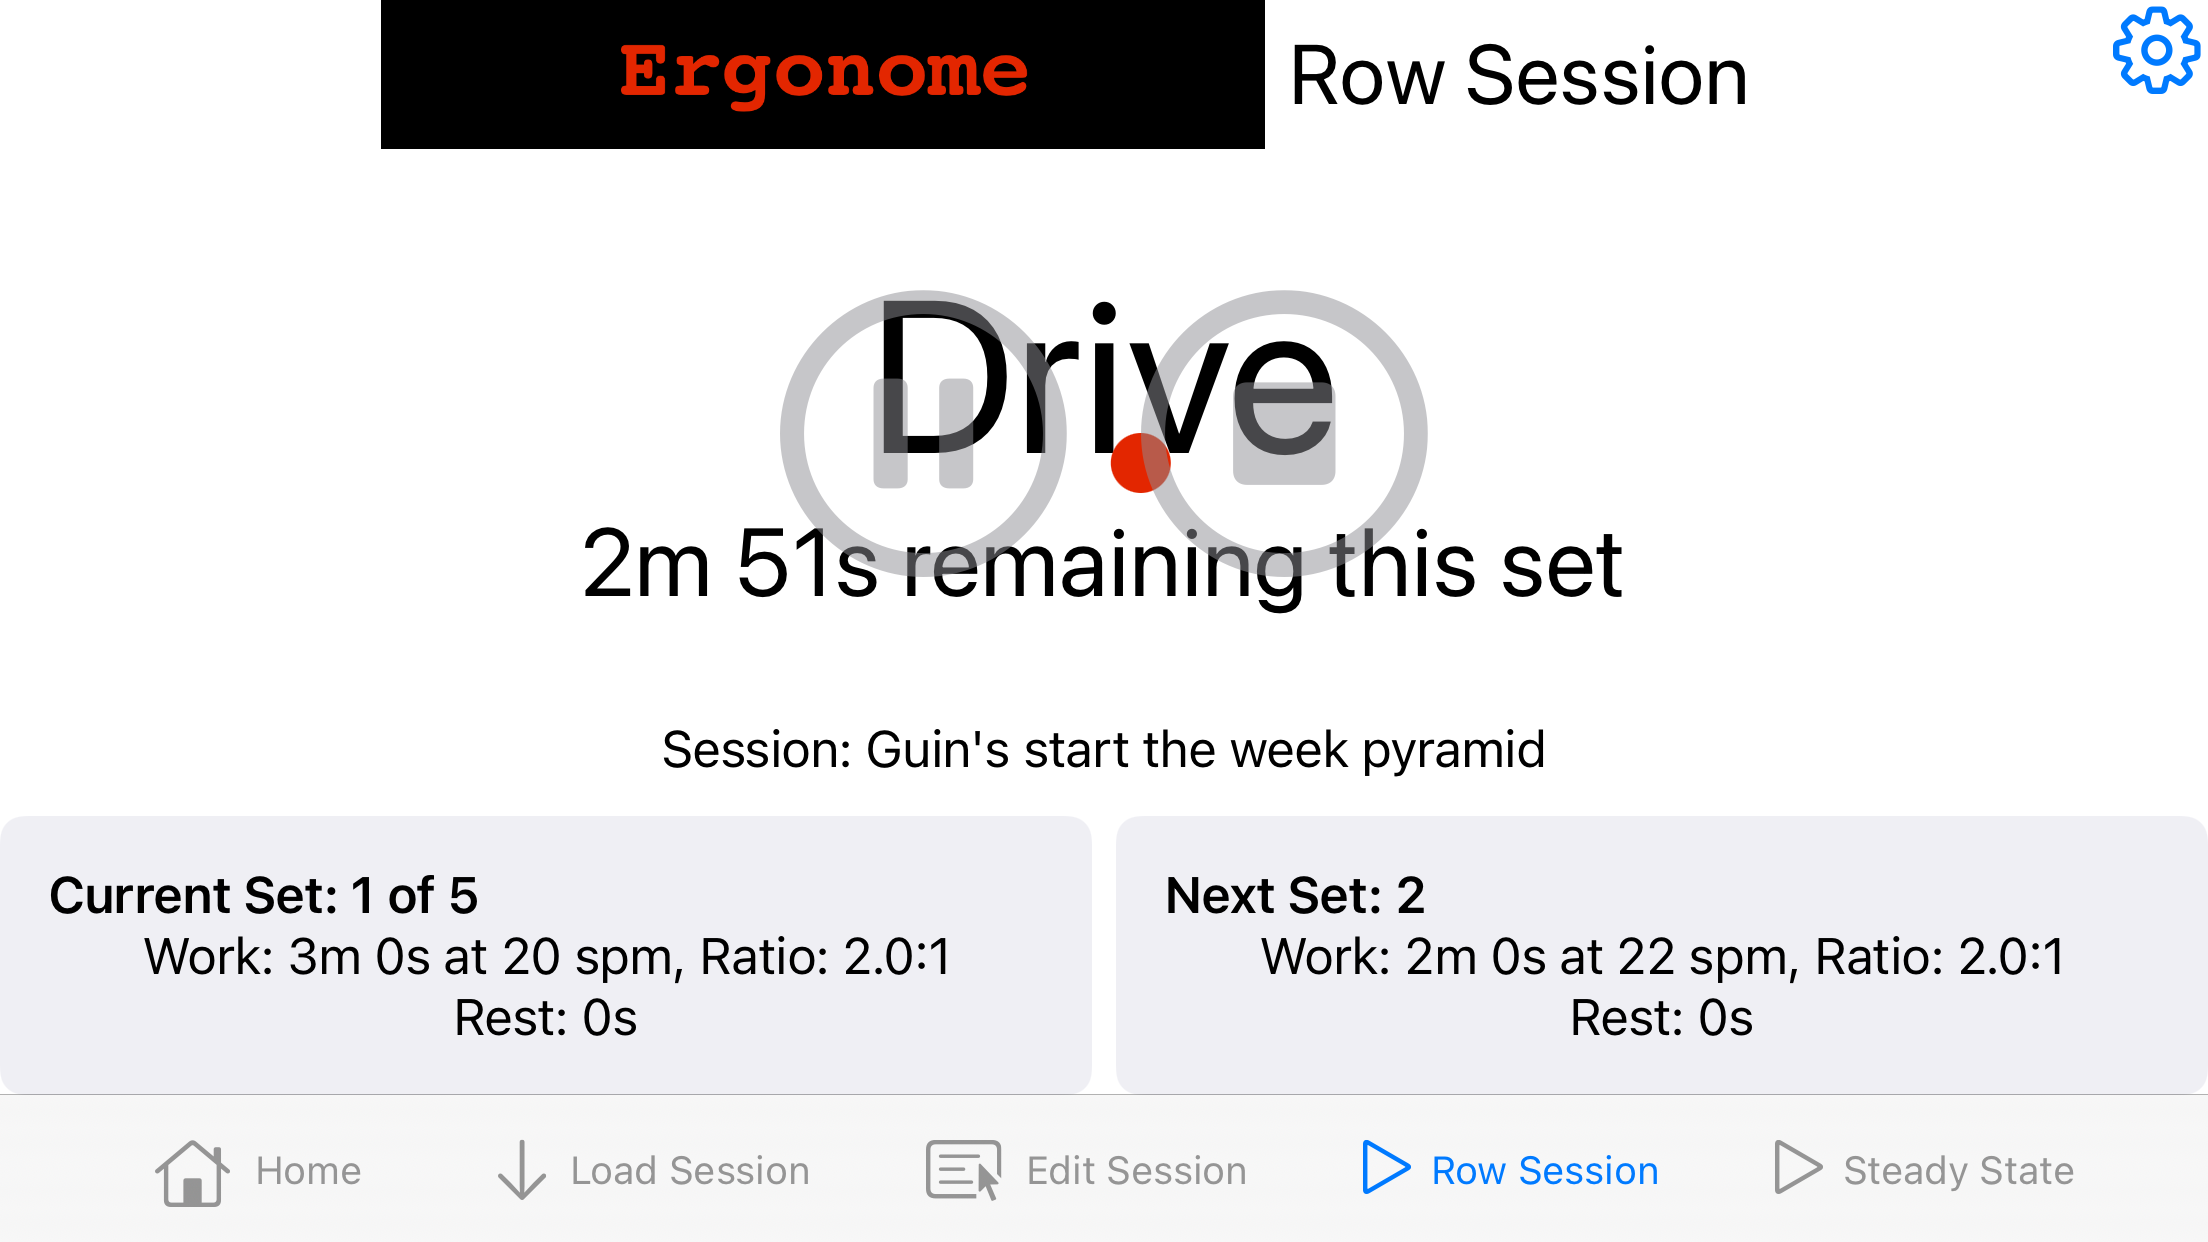
7. Row Session - Drive
Now you're into the work of the set, you'll see little red dot moving tyrannically across the screen to tell you when to drive and when to recover. There's also a metronome click to help keep you in sync with the catch and the finish.
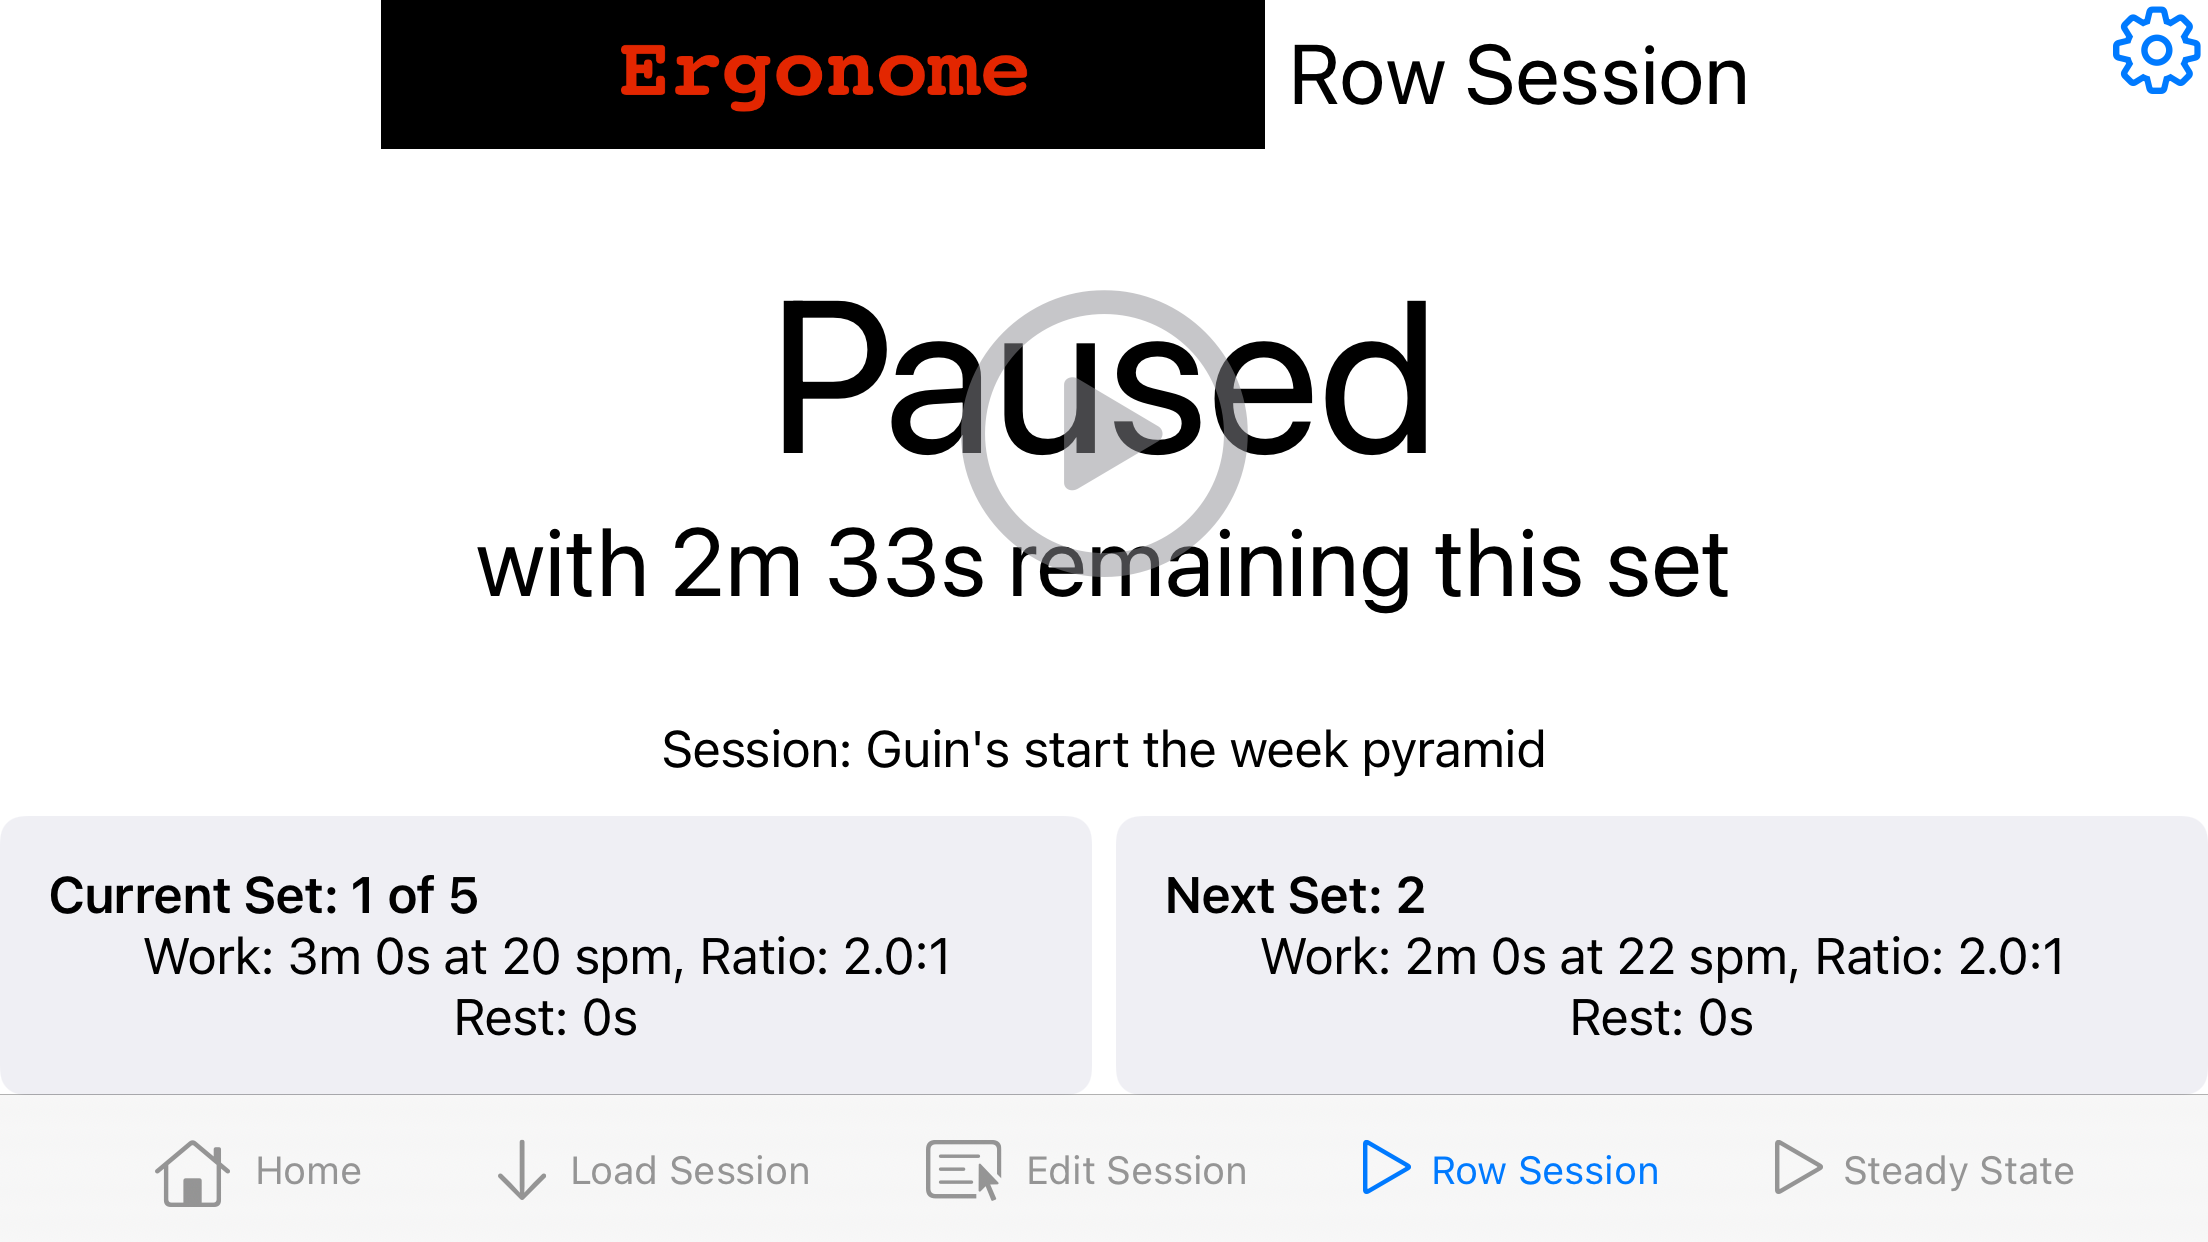
8. Row Session - Paused
You'll have noticed that when you touched the Play icon, it was replaced with a Pause and a Stop icon. This is what happens when you click Pause. Click the Play icon again to pick up where you left off.
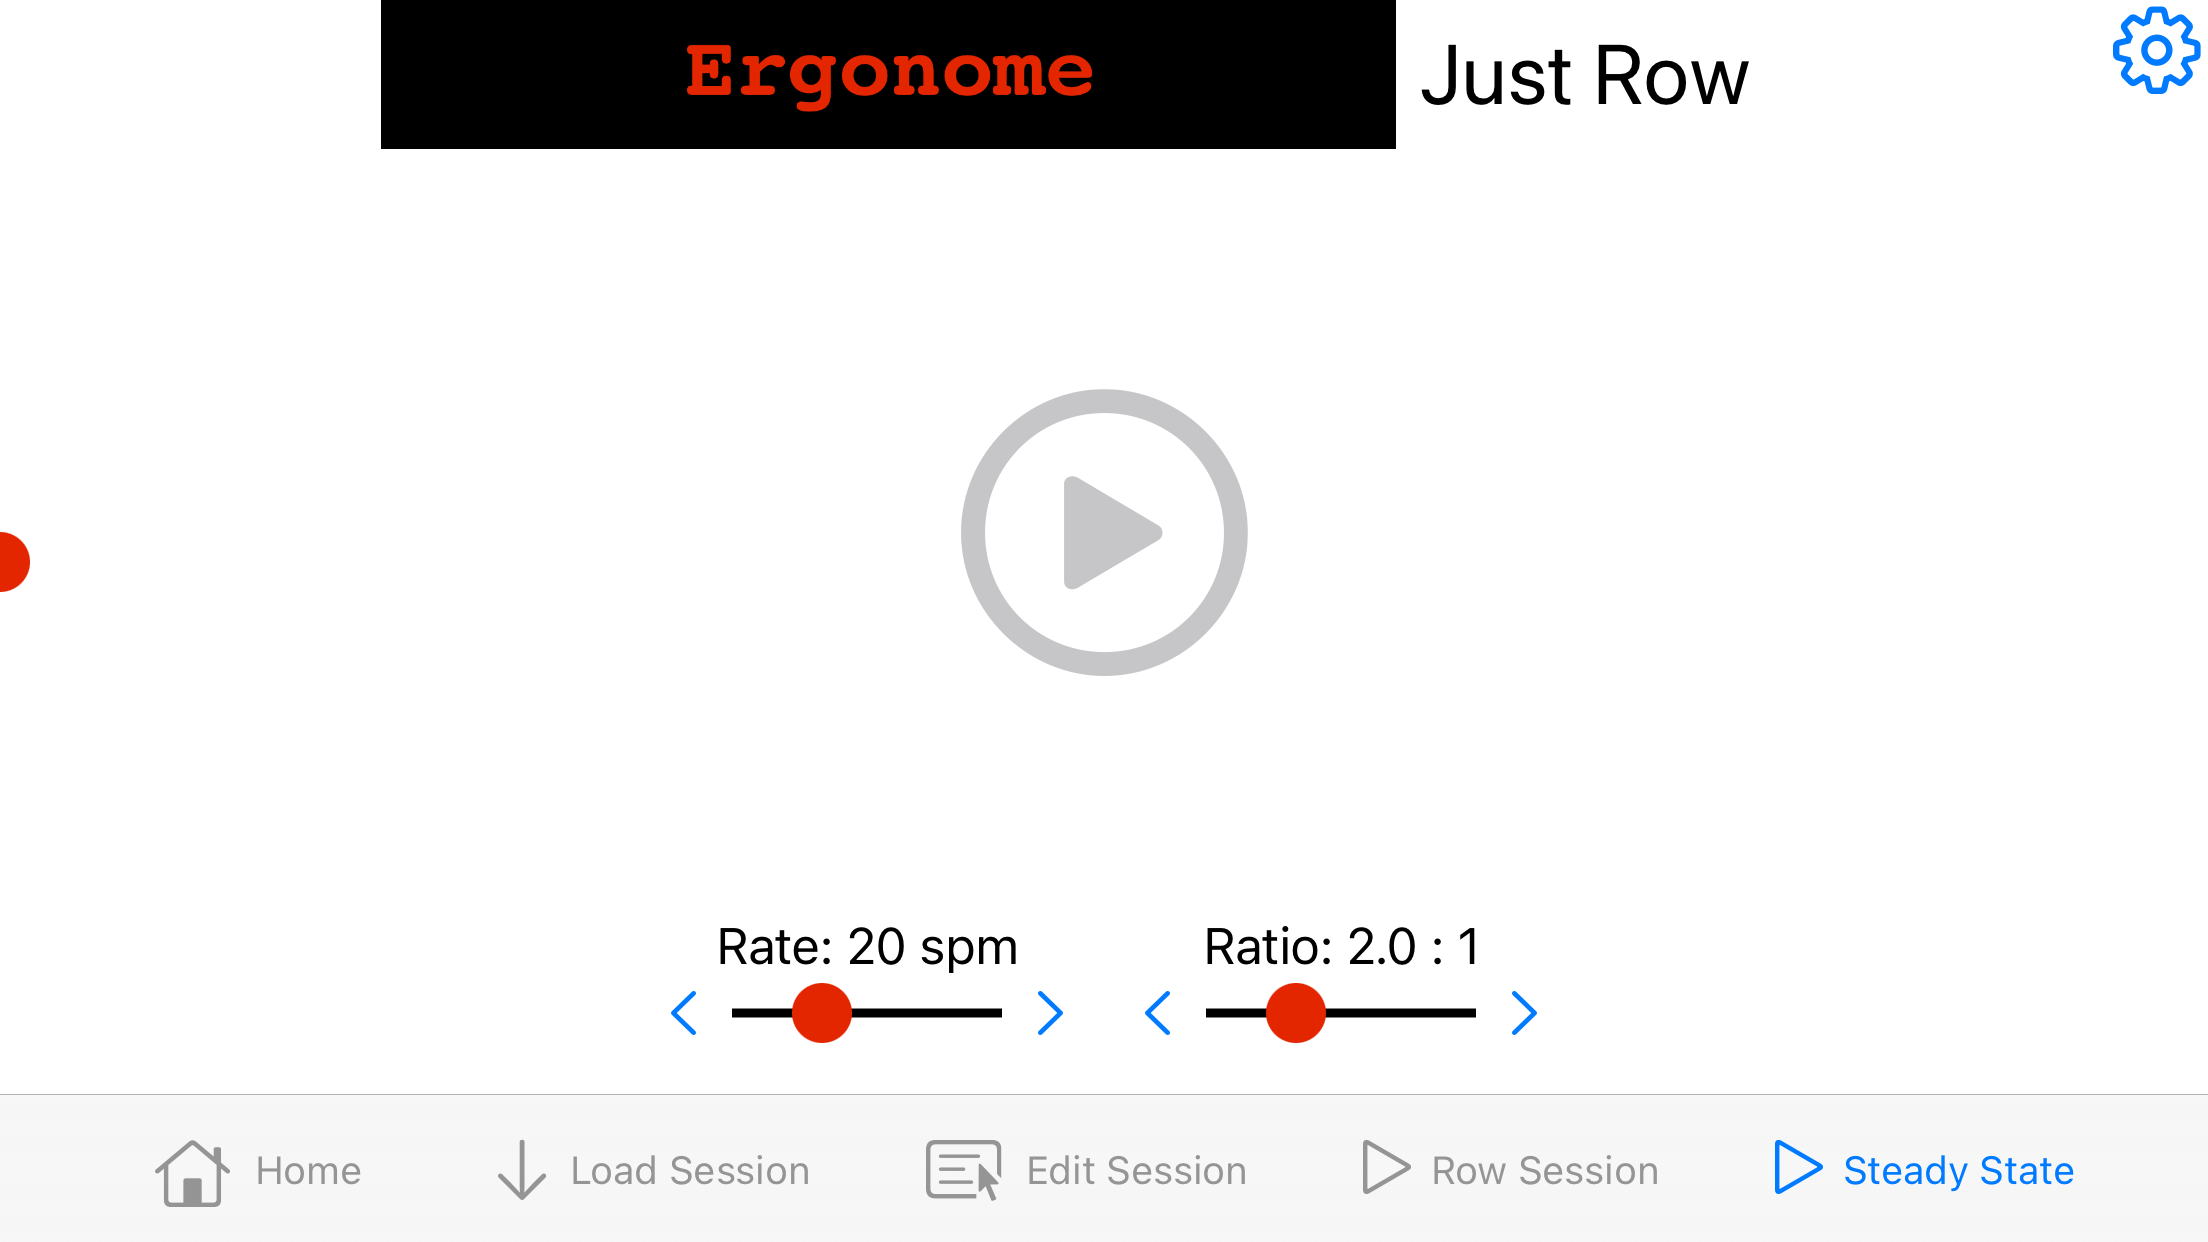
9. Steady State
The last tab on bottom of the screen takes you to the Steady State page. If you just want to row at a given pace and ratio, this is for you. It's the same as the structured sessions, except without the structure. You can change the rate and ratio using the sliders and nudgers at the bottom of the screen.
Editing sessions
Ergonome session editing walkthrough
Each Session is organised in Sets, each of which consists of a period of Work and a period of Rest (which can be zero). The Work is defined by the Rate in strokes-per-minute, and the Ratio which is the ratio of Recovery to Drive duration. The default Ratio is 2.0:1, meaning the Recovery takes twice as long as the Drive. At low rates you might want to increase the Ratio to give some intensity, or leave it as is for warm-up or -down.
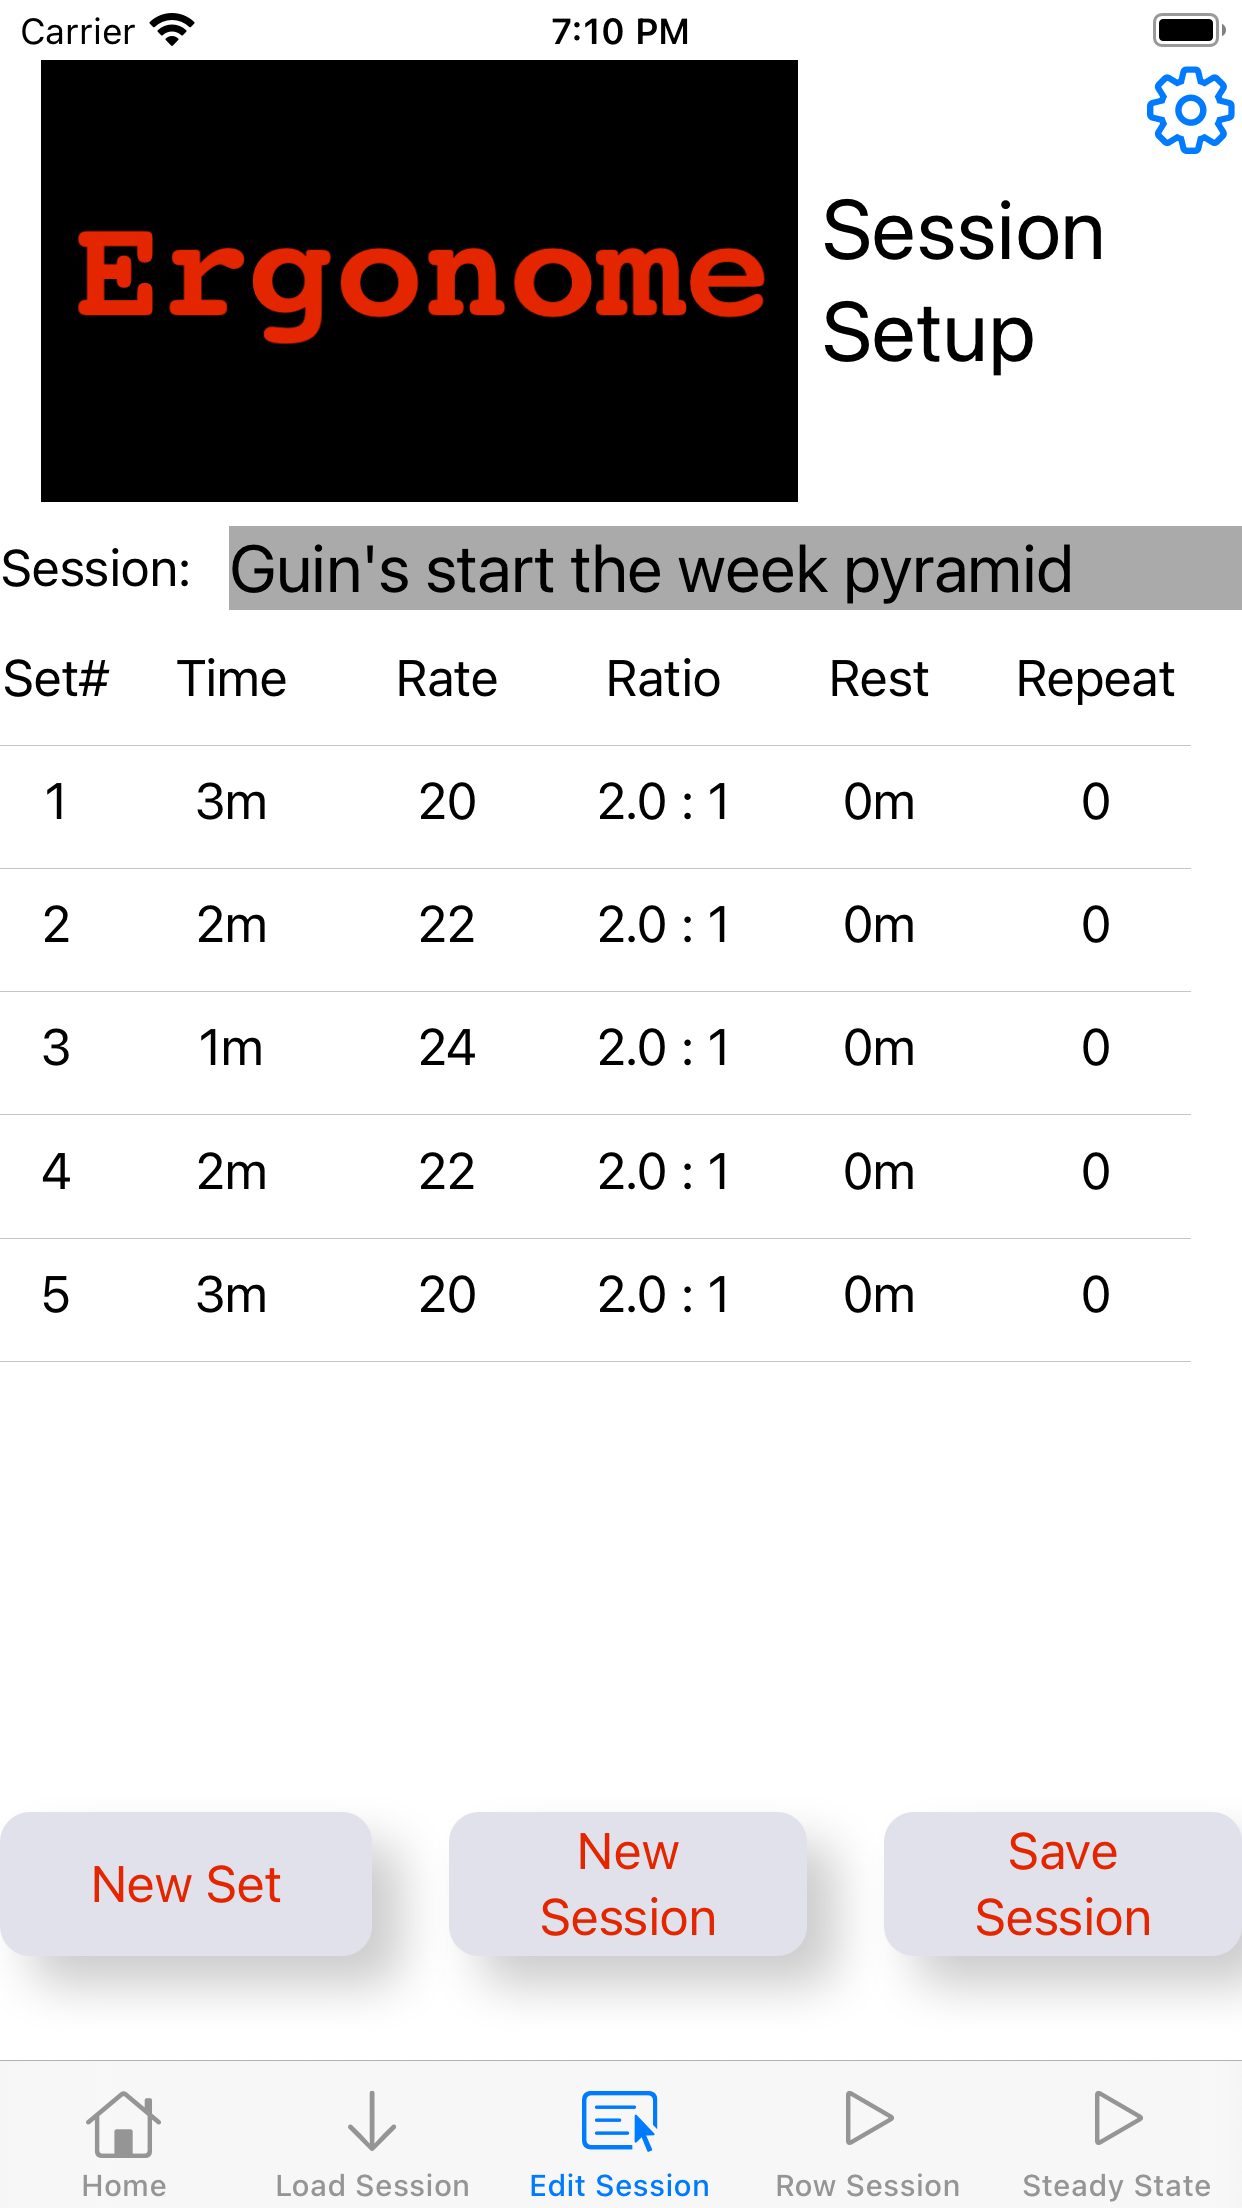
1. Editing a Stored Session
This is the session we loaded earlier. Touch the Edit Session button to get to this screen.
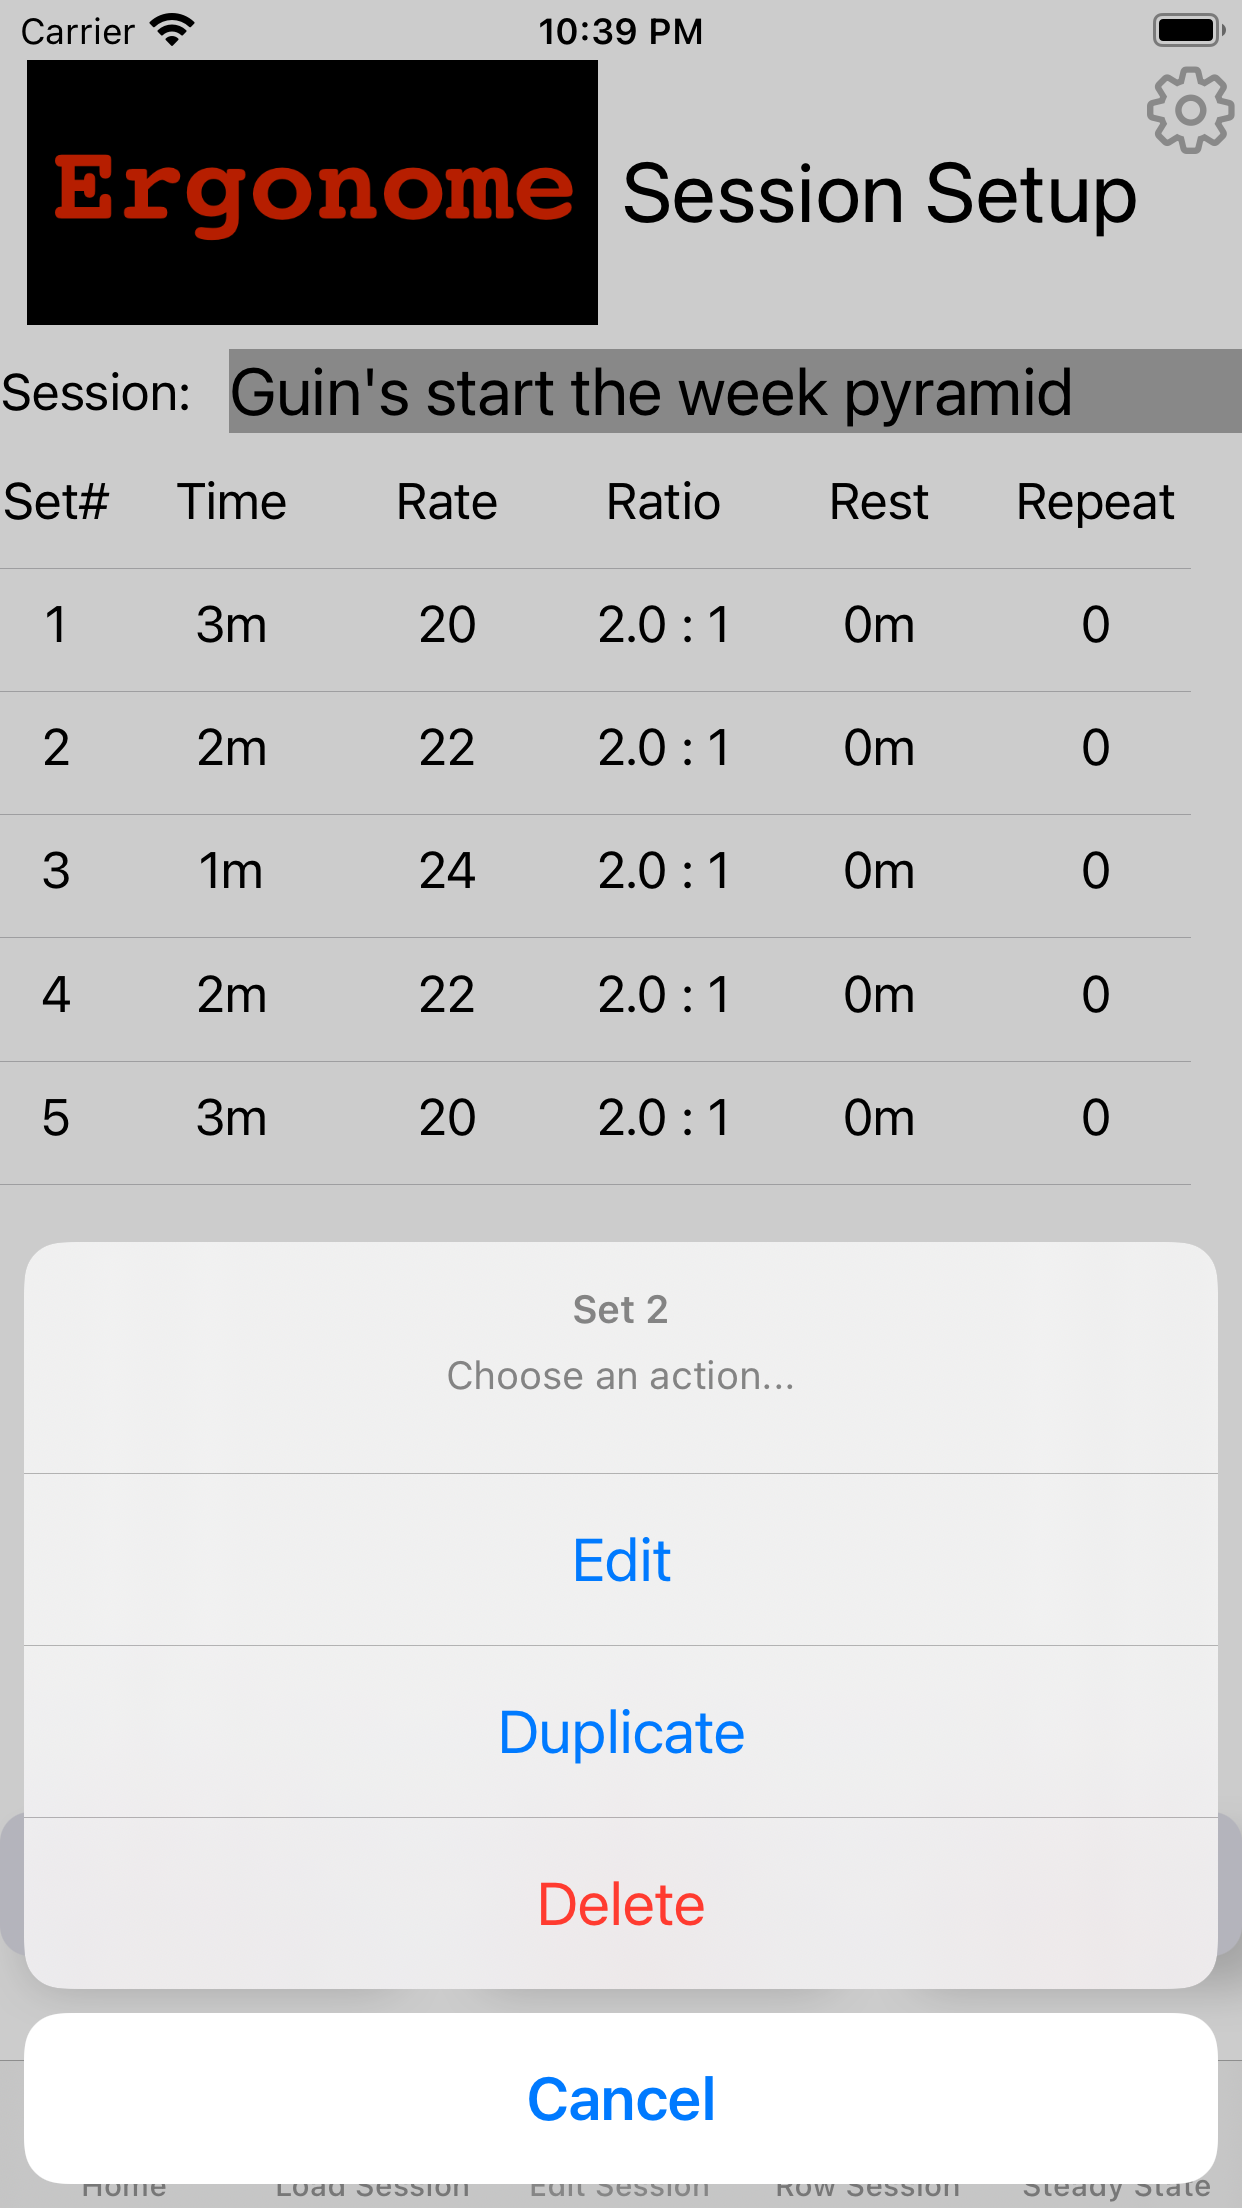
2. Editing a Stored Session
Touch a Set to edit its properties, delete it or duplicate it.
We're going to edit it
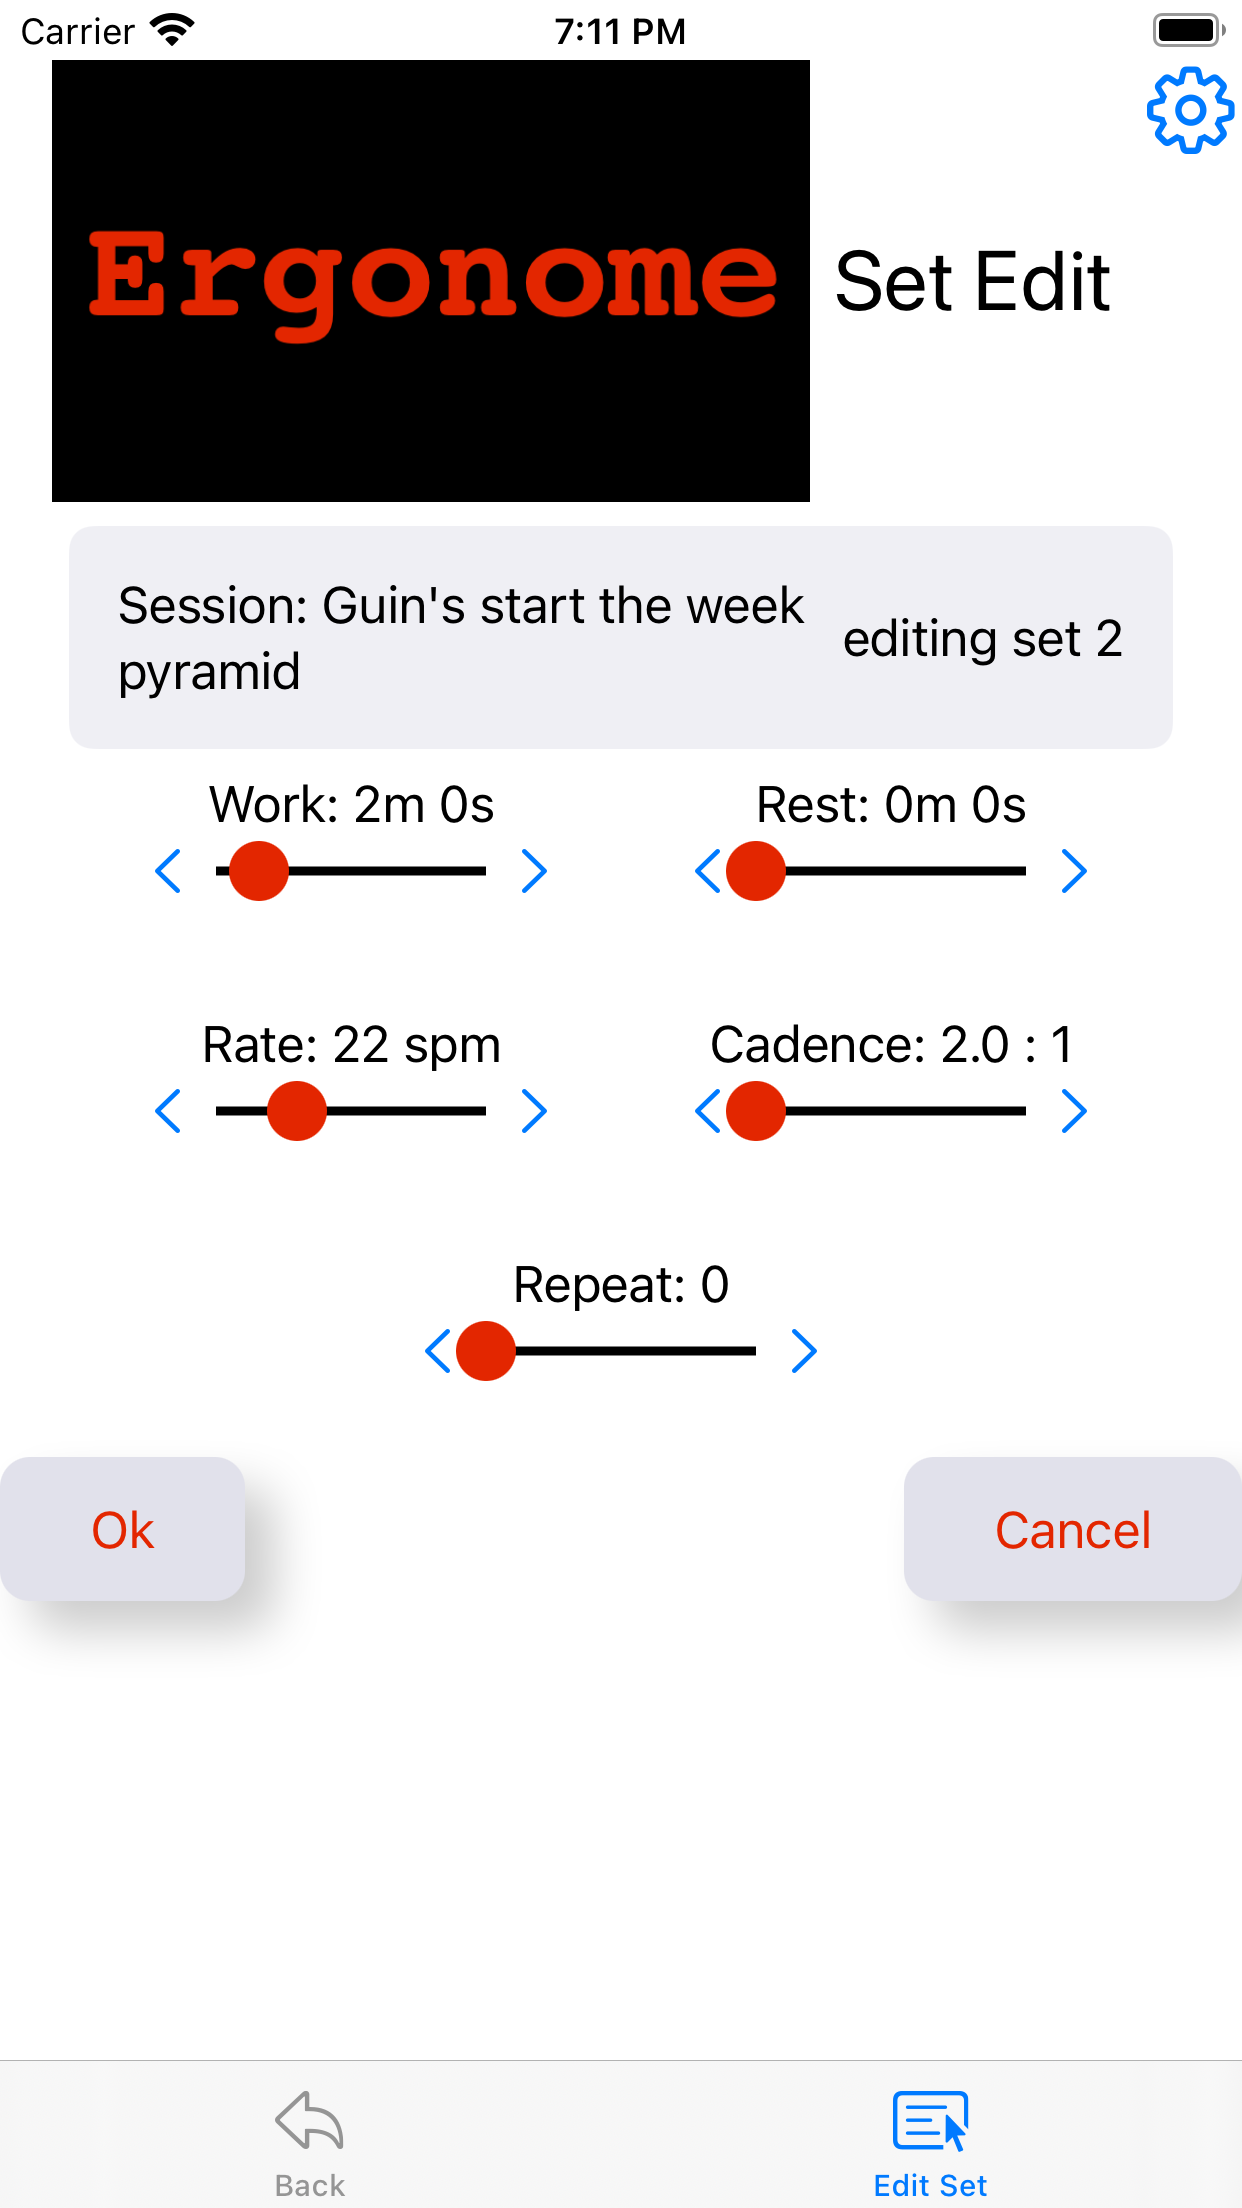
3. Editing a Stored Session
Use the sliders for coarse adjustment, and touch the nudger chevrons ('<' and '>') for fine adjustment
Touch the Ok button or the Back tab to keep changes. Touch Cancel to discard them.
The Settings Screen
Ergonome Settings
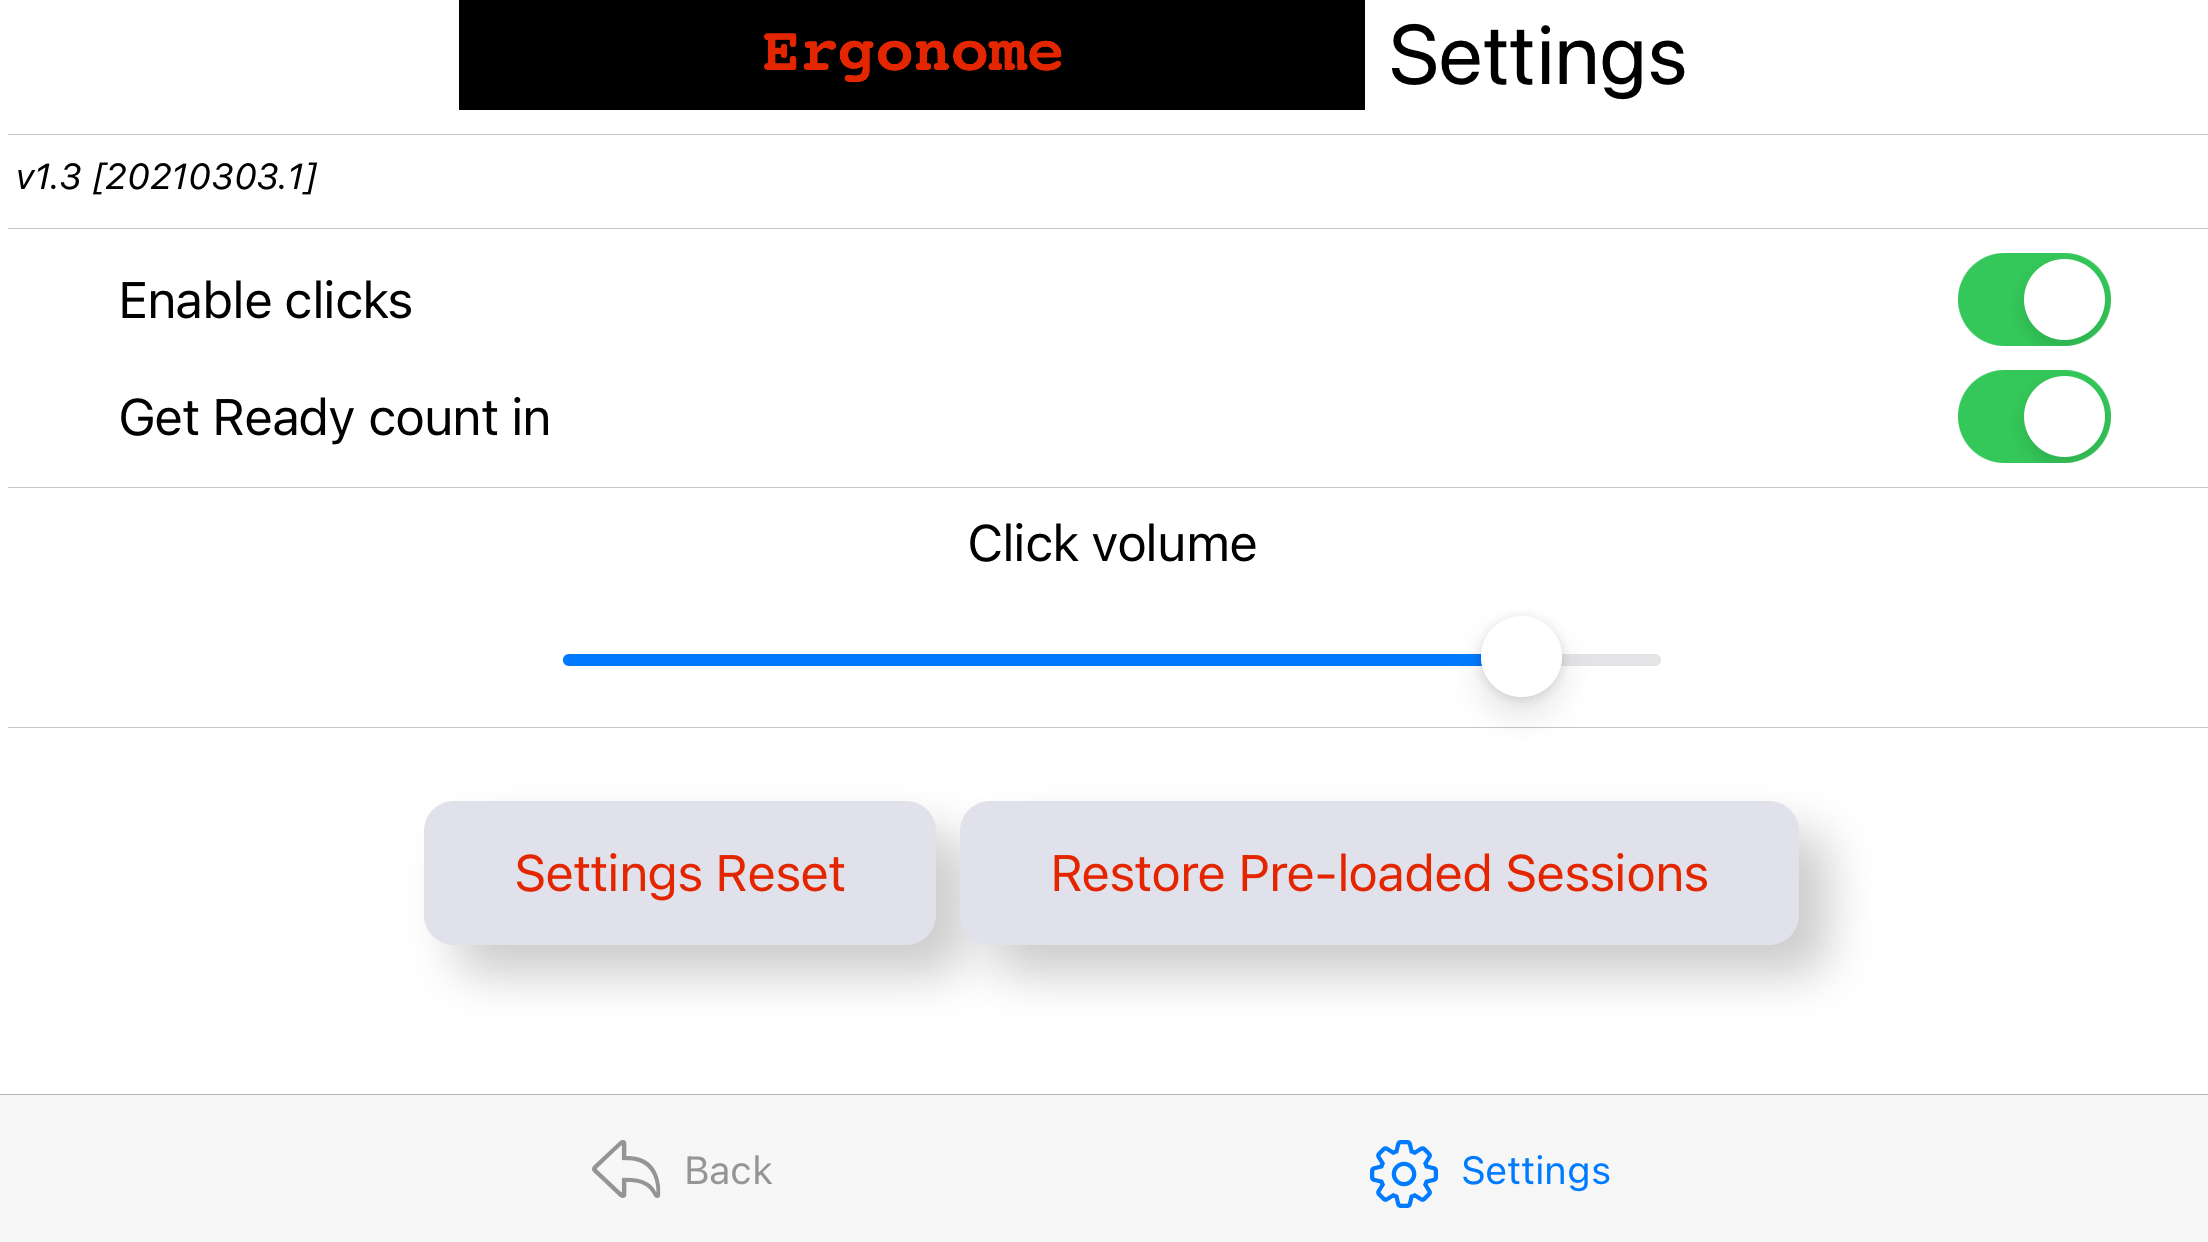
Touch the Settings cog on any screen to come here. Any Session in progress will pause so you can resume it when you're done.
The first toggle enables and disables the countdown beeps and catch/finish metronome clicks. The second toggle enables or disables the 5-second countdown at the start of the session and the end of any rest periods.
The slider sets the volume of the clicks
The Reset button resets all the toggles and slider to their defaults, and the Restore pre-loaded Sessions button restores the pre-loaded sessions to their original state, in case you deleted them or screwed them up. Any sessions you created yourself are unaffected.